Thinking about removing that old swimming pool from your backyard? You’re not alone. Many homeowners decide to tackle a pool removal process for various reasons – maybe the pool needs expensive repairs, you want more yard space, or you’re tired of the maintenance costs. Whatever your motivation, understanding what lies ahead can help you make an informed decision and prepare for the journey.
At Robinson Landscape, we’ve guided countless homeowners through pool removals, and we know the process can seem overwhelming at first glance. The good news? With proper planning and the right team, removing your pool can be straightforward and stress-free. Let’s walk through exactly what you can expect from start to finish.
Planning and Permits: Laying the Groundwork
Before any heavy machinery shows up at your property, there’s important groundwork to complete. Most municipalities require permits for pool removal, and this step can’t be skipped. Your local building department will want to review your plans, especially since swimming pool demolition involves electrical work, plumbing modifications, and significant excavation.
The permit process typically takes 1-3 weeks, depending on your location. During this time, we’ll also schedule utility marking services to identify any underground lines. This crucial safety step protects both our crew and your property’s infrastructure. We’ll also conduct a thorough site assessment to determine the best approach for your specific situation.
Draining and Disconnecting Utilities
Once permits are in hand, the actual work begins with draining your pool completely. This might sound simple, but there’s more to it than just opening a drain. We need to consider where the water will go – some areas have restrictions on draining chlorinated water into storm systems.
Next comes disconnecting all utilities connected to your pool. This includes electrical lines running to pumps, lights, and heaters, as well as gas lines if you have a gas heater. Professional pool removal teams handle this carefully, ensuring all connections are properly capped and safe. Any equipment like pumps, filters, and heaters are removed at this stage.
Demolition Methods: Partial vs. Complete Removal
Here’s where you’ll face an important decision: partial removal or complete removal. Each approach has its merits, and the right choice depends on your future plans for the space and your budget.
Partial removal, also called “fill-in,” involves breaking up the top portion of the pool (usually 18-24 inches), then filling the remaining structure with gravel and soil. This swimming pool demolition method costs less upfront and works well if you plan to use the area for landscaping or a patio.
Complete removal means excavating and hauling away the entire pool structure. While more expensive, this approach gives you maximum flexibility for future construction and completely eliminates any potential settling issues. Most homeowners planning to build additions or sell their homes eventually choose complete removal.
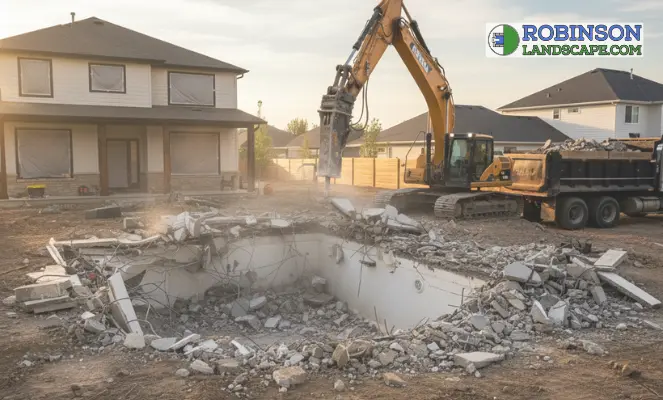
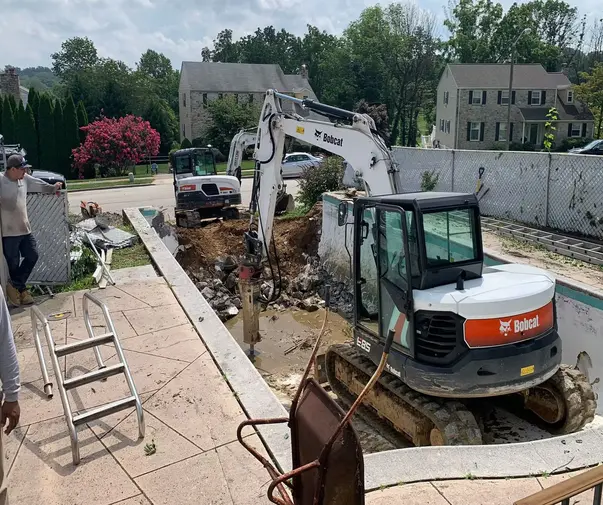
The Demolition Day Experience
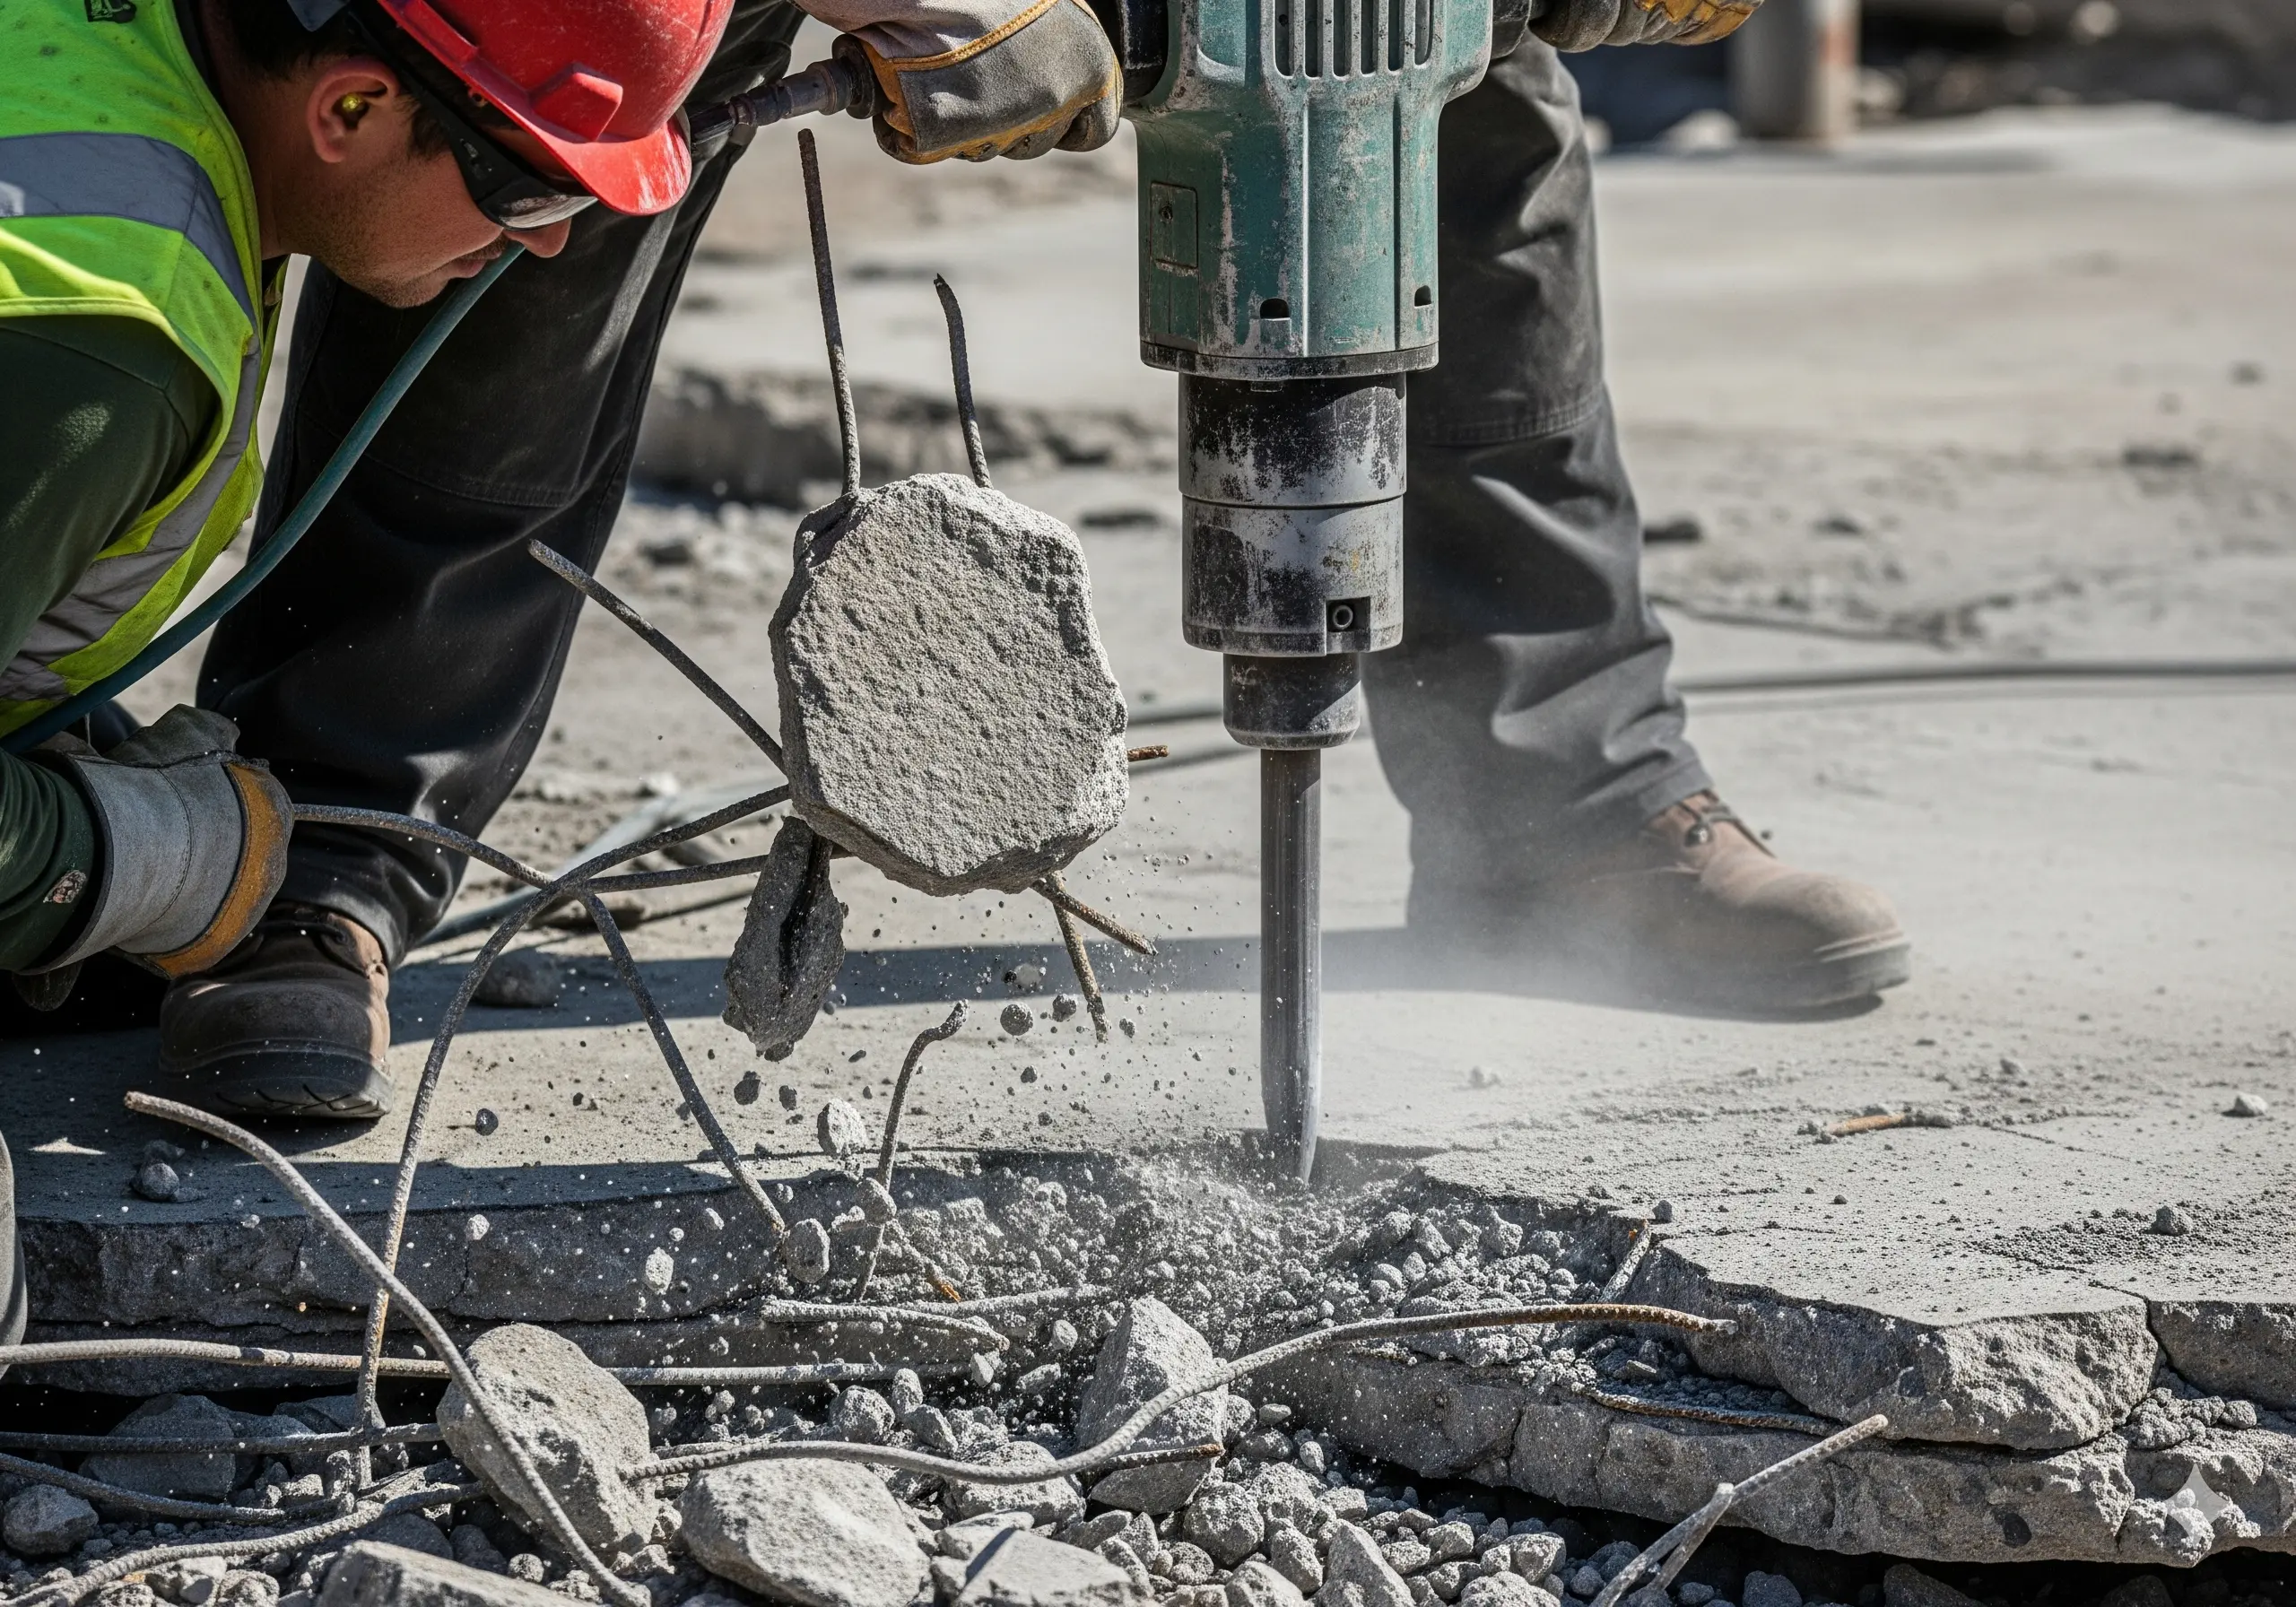
Demolition day brings the big equipment – excavators, jackhammers, and dump trucks. Don’t worry about the noise and activity; professional pool removal crews work efficiently to minimize disruption to your daily routine.
For concrete pools, crews use hydraulic breakers to fracture the structure into manageable pieces. Fiberglass pools often come out in large sections if they’re in good condition. The process typically takes 1-3 days for most residential pools, depending on size and access to your backyard.
One thing many homeowners don’t expect is the amount of debris generated. A typical in-ground pool produces 15-30 cubic yards of concrete and other materials. Professional crews sort materials for recycling when possible, keeping environmental impact minimal.
Site Restoration: Bringing Your Yard Back to Life
After demolition comes site restoration – arguably the most important phase for your property’s long-term value. This step transforms the construction zone back into usable outdoor space.
First, we backfill the excavated area with clean soil, compacting it in lifts to prevent future settling. The type of fill material matters tremendously here. We use engineered fill that’s specifically designed to support whatever you plan to build or plant above it.
Proper compaction can’t be rushed. Each layer of soil gets compacted to specific density requirements before adding the next layer. This meticulous approach during site restoration prevents the settling and sinking problems that plague poorly executed pool removals.
Grading and Drainage Considerations
Once backfilling is complete, we focus on proper grading to ensure water drains away from your home and doesn’t pool in the former swimming pool area. This involves carefully sloping the soil and potentially installing drainage systems if your yard’s natural drainage isn’t adequate.
Professional pool removal includes coordinating the final grade with your home’s existing landscape. We want the transition to look natural while maintaining proper water flow patterns across your entire property.
Timeline and What Affects It
Most pool removal process projects take 1-2 weeks from start to finish, but several factors can influence this timeline. Weather plays a big role – heavy rain can delay excavation and compaction work. Access to your backyard also matters; pools that require equipment to travel through your house or tight side yards naturally take longer.
Pool size and type affect timing too. Large pools or those with extensive decking and landscaping features require more demolition time. Swimming pool demolition of concrete pools generally takes longer than removing fiberglass pools due to the breaking and hauling requirements.
Preparing for Life After Pool Removal
Once your pool is gone, you’ll have a blank canvas for your backyard dreams. Some homeowners immediately begin landscaping projects, while others wait a season to ensure the soil has settled properly before major installations.
Consider this transition period an opportunity to plan thoughtfully. Site restoration provides the foundation, but the final chapter of your pool removal story involves creating the outdoor space you’ve always wanted.
Cost Factors and Budgeting
Understanding cost factors helps you budget appropriately for your pool removal process. Size is the primary driver – larger pools simply require more labor and disposal fees. Access difficulty can increase costs, especially if equipment must travel long distances or through tight spaces.
The type of removal you choose significantly impacts the final bill. Complete removal costs more upfront but eliminates future complications. Professional pool removal companies provide detailed estimates that break down all costs, so you know exactly what you’re paying for.
Working with the Right Team
Swimming pool demolition isn’t a DIY project for most homeowners. The combination of heavy machinery, utility disconnections, and proper site restoration requires experienced professionals with appropriate licensing and insurance.
At Robinson Landscape, we handle every aspect of the pool removal process, from initial permits through final grading. Our team understands local regulations, proper disposal methods, and the techniques that ensure your property looks better than ever once the project is complete.
Conclusion
Removing your swimming pool opens up new possibilities for your outdoor space while eliminating ongoing maintenance responsibilities. While the pool removal process involves multiple steps and careful coordination, working with experienced professionals makes the journey smooth and stress-free.
Whether you’re reclaiming yard space for children to play, planning a garden, or preparing your property for sale, professional pool removal and proper site restoration provide the foundation for your next chapter. Ready to explore your options? Contact Robinson Landscape today to discuss your pool removal project and discover what’s possible for your outdoor space.
Tim Robinson is the owner of Robinson Landscape LLC, proudly serving Bucks and Montgomery Counties for over 24 years. Known for his strong work ethic, clear communication, and reliability, Tim brings passion and professionalism to every job. When he’s not working, he enjoys time with his wife, two kids, and their family dog.